What is next?
For about a day, I was at a loss. What to do next? I felt a combination of satisfaction and panic. I had just completed a series called ‘Feeling Safe and Well’ and been given an opportunity to show most of the pieces for 3 months at the Nicolaysen Art Museum in Casper WY. Naturally I felt good about that! The panic of having nothing waiting in the wings was short lived.
Asking myself what I wanted to do next, my answer was - to create large abstract pieces for the stairwell at city hall. In so doing I would have new work (before Oct. 18!) to enter into ‘Art Matters’, the annual show and auction for my local community art center. avacenter.org
So…Abstract Artwork. I have created 58 abstract pieces in the last 10 years using the following steps in the process.
The first step is thinking about what I want to say and how I want to say it. The piece that I’ve been working on is based on the idea of good news. It will probably be called “Music to my Ears”. What is the size, shape, and color of good news? I’ve selected mostly solid warm colors to represent a positive vibe. I have prepared a large ‘canvas’ of muslin measuring 48 X 35 inches. It is laid out on the ping pong table in my studio.
If you think that piece of muslin looks intimidating, you are right! Below are fabric bundles selected from my stash.
The next step is preparing the fabric. I open my bundles and cut pieces based on a gut feeling of how much I think I will need. I want to remove the fold creases from the fabrics, so I wet each sample, ring it out and scrunch it into a wet ball. These balls rest for several hours before I spread them out to dry. In this way I create new and improved organic wrinkles! The fabrics will retain nearly invisible traces of these wrinkles even after they are ironed.
Wet balls of fabric
Fabrics drying, with lovely wrinkles!
People often ask me, “How long did it take to make that?” I can answer the question, step by step for this piece. Preparing fabrics and the muslin took about 1.5 hours.
The next step is composition. I have a loose idea of which fabrics will occupy the most space, and which will be small accents. Most of the magic happens in the process of playing around with the fabrics. This stage often goes pretty fast. I arrange and cut the fabrics. I pin them to the muslin. After an hour and a half of placing fabrics, I use a step ladder to capture images with my phone so I can see how the composition looks from above. When I look at these thumbnail photos, I get a different perspective from what I see at ground-level spread out on the table. This view from above is often very useful.
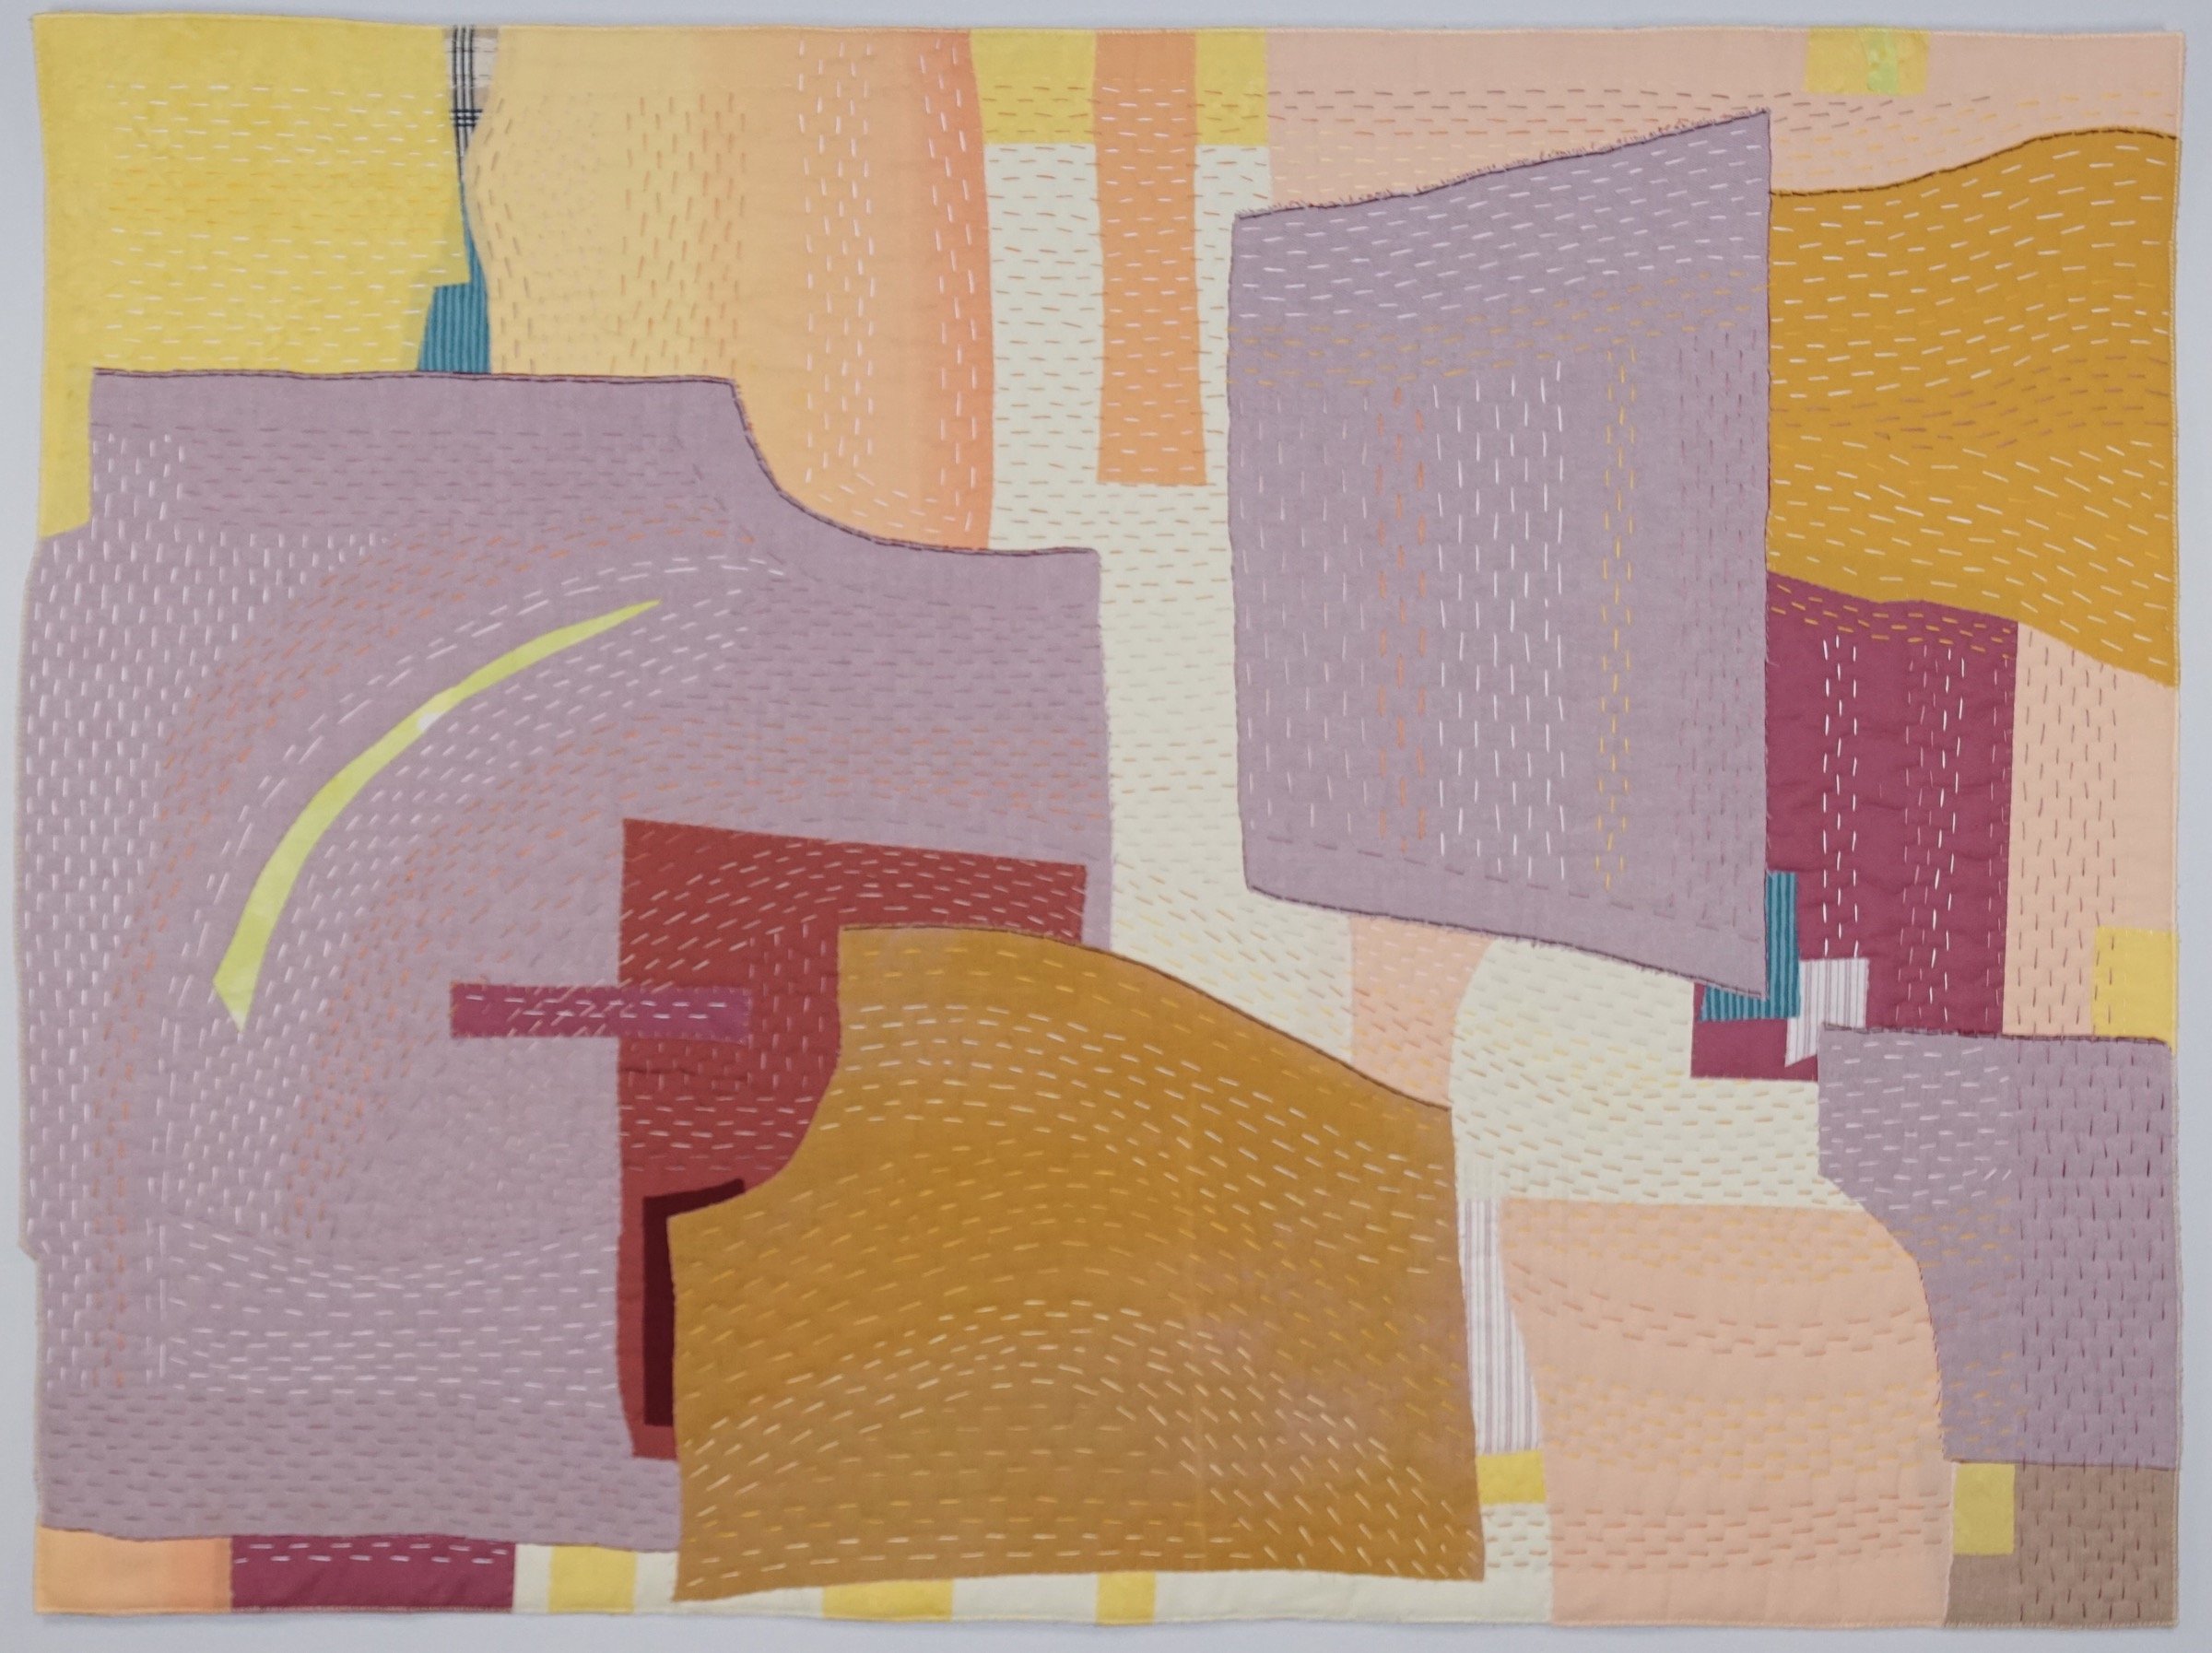
The next step is hand applique. I add and subtract some details and get started on hand appliqueing the pieces to the muslin. I stitch some with thread of matching color and some with contrasting color. After 6 hrs. and 10 min. I have completed the applique step, and it looks like this, hanging on my clothesline.
I like the simplicity of the composition and the color combinations. I think that good news is light and uncomplicated. I have used solid fabrics so that hand quilting that comes next will become the star of the show.
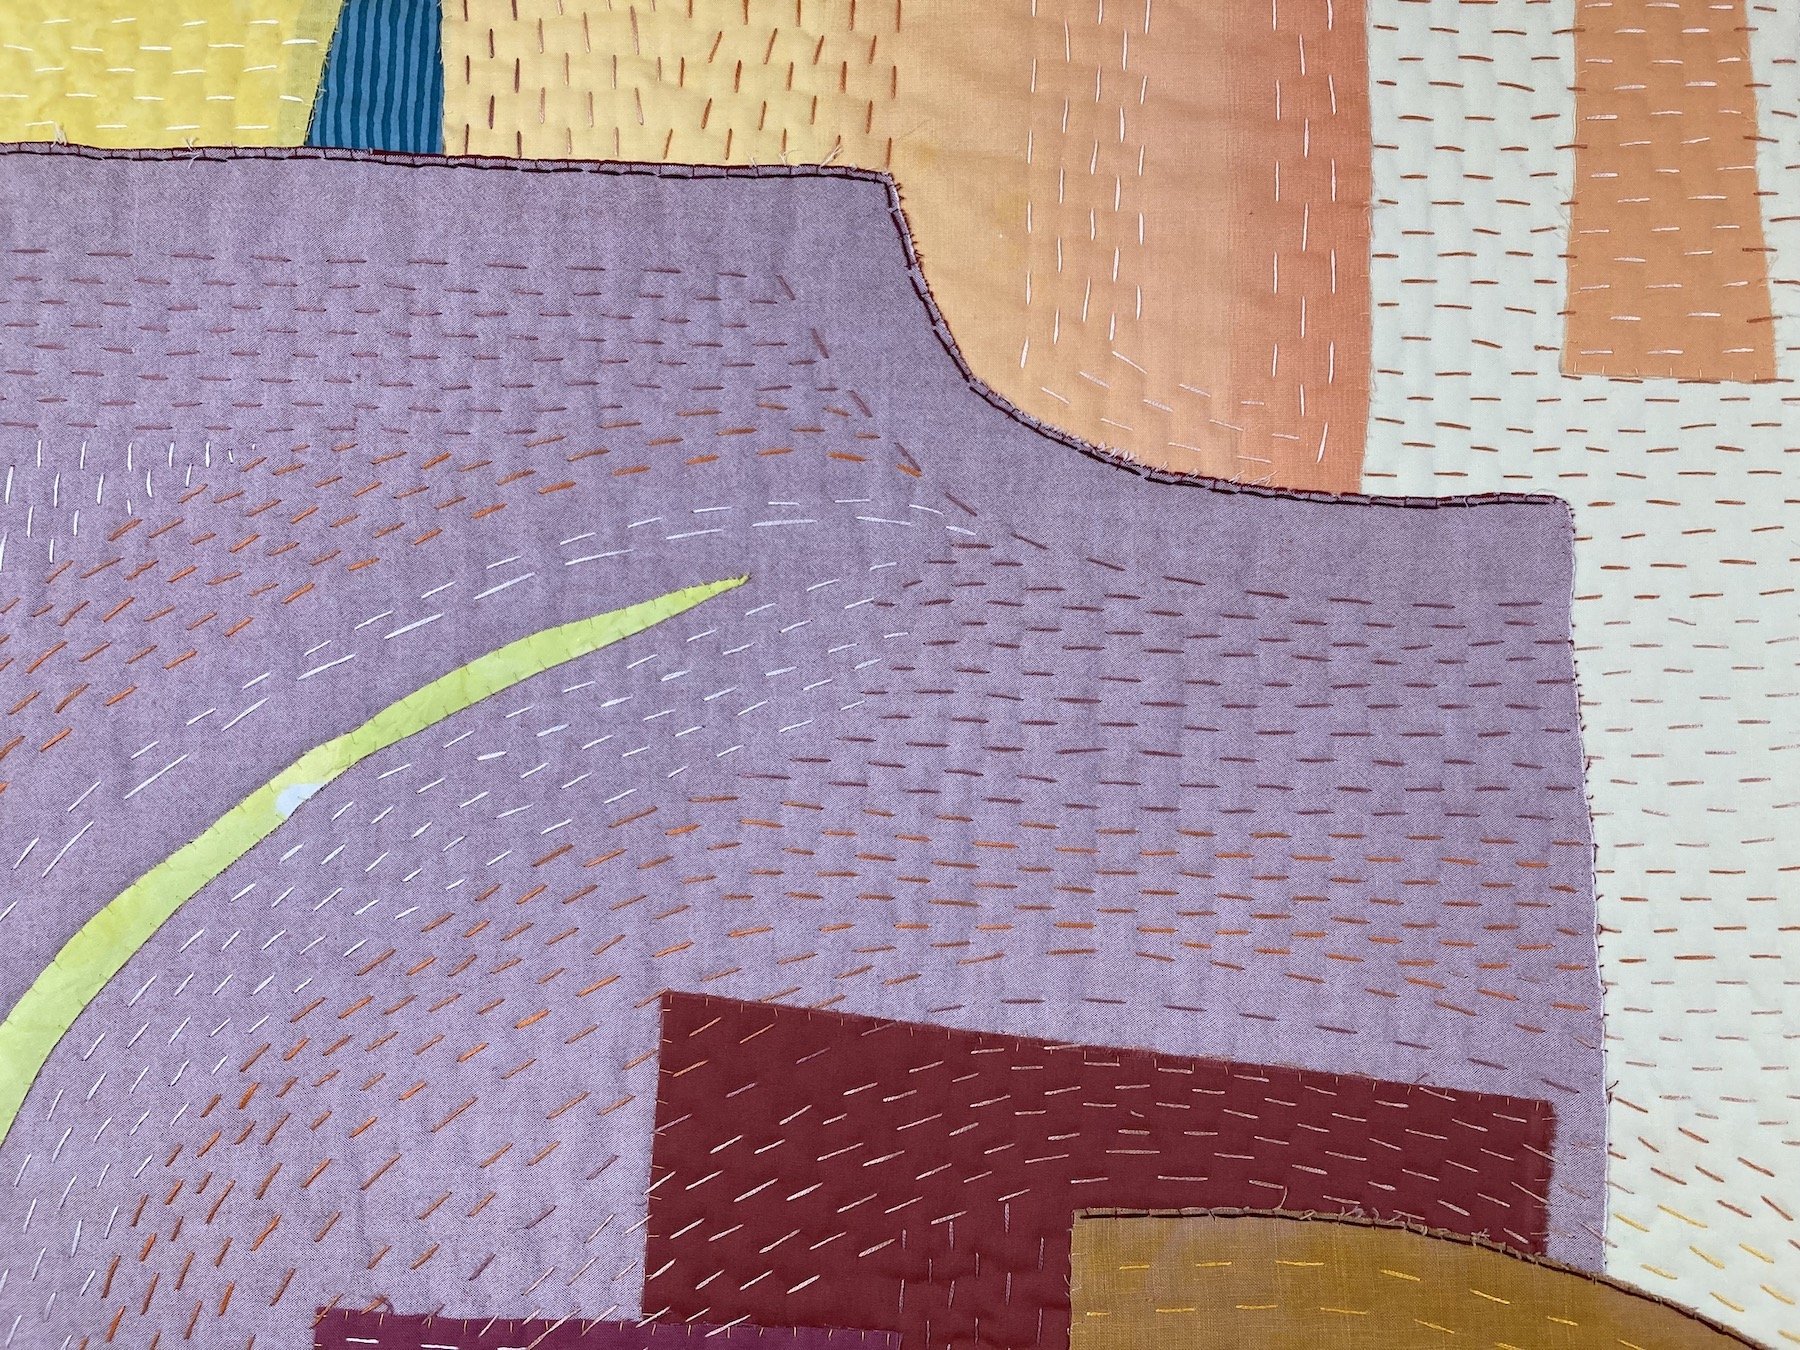
Below is a detail showing more accurate color for the soft purple fabric. I use raw-edge applique, meaning that the edges are not turned under. The edges are frayed and the shapes are organic. The idea of imperfection is part of what I want to say in all of my artwork.
Now for the quilting. I cut a batting and backing to fit the piece and begin the quilting, using embroidery floss. This will take a while!
In fact, it takes a total of 33 hours! Usually, the quilting step does not take this long. (It can take as little as 6 hours), but for this quilt I wanted the quilting stitches to be the star.
There was another 3 hours 40 minutes to finish the outer edges, sew a sleeve on the back, prepare a stick, and clean up.
The total time spent creating Music to My Ears was 45 hours and 50 minutes. Since I don’t work in my studio every day, the work was spread out over about 3 weeks.
Below is the completed piece and another recent creation.
Music to My Ears, 35 X 47, $950
Detail of Music to My Ears
Detail of Music to My Ears
Sometimes people play well in the same room, but are not playing together. Each is engrossed in their own thoughts and activity. Parallel Play shows us what this might look like. Birds, leaves, and dark blue are seen on the right side. Purple floral, raindrops, and lighter blue are seen on the left side. I used hand applique and both machine and hand quilting.
Parallel Play, 45.5 X 36.5, $750
Detail of Parallel Play
Detail of Parallel Play
This month’s recipe is Stove Top Lasagna. My grandchildren were told that it is Grandma’s version of lasagna, which is unlike conventional lasagna and quicker to make. Cook a box of Banza (garbanzo) pasta in water for 8 min. , drain and rinse. Chop 4 cups of greens (chard, beet greens, or spinach), chop 1 cup bell pepper and 1-2 cups yellow squash. In a large pan (deep with straight sides) saute the vegetables in olive oil until almost tender. Add 1/2 lb. ground meat ( I use buffalo burger). When the burger is cooked, add 1/4 t. (or more) red pepper flakes, 2 cups tomato or pasta sauce and the cooked noodles. Mix together. Turn temperature to low. Add a little more sauce to the top. Then add 10 slices of Monterey Jack cheese, and 1/4-1/2 cup shredded parmesan cheese. Leave on the stove for about 10 min. Remove from heat and let cool for 20-30 min. Slice in pie shapes and serve.


